Perspective Control Stitch (tilt shift stitching)

The perspective control stitch is a technique that is used mainly in interior and architectural photography but sometimes for landscapes. With the majority of my work as an interior photographer being in confined spaces its often tricky to fit the whole room or the space you want to within the camera frame without using an ultra wide lens which causes massive distortion. So the ability to shift the lens up and down or side to side means that you can fit more into the frame, however the only downside is the image sizes tend to not be traditional sizes.
I am going to explain how I get from these three images:
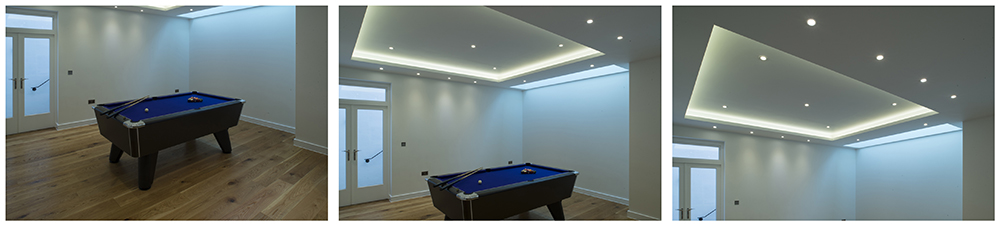 to this

So the first thing is the initial taking of the images which requires a PC-E lens I use the 24mm PC-E Nikkor lens when mounted on a camera it is possible to shift the lens up and down in order to move the frame of the image:

This results in images which all line up perfectly as the perspective has not changed and the lens has shifted along a single plane.
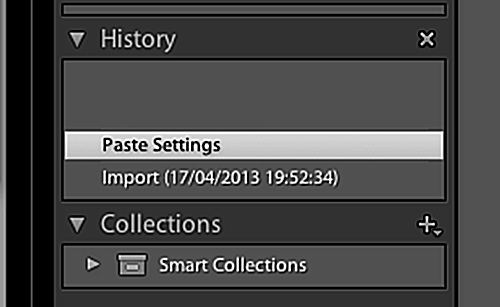
Next the images all need to be imported into Lightroom or an equivalent raw editor and an initial edit done to a single image,

these changes are then copied and pasted to the other images to keep consistency:
Once this is done all images should look the same exposure and color wise. The images should then be exported into a folder.
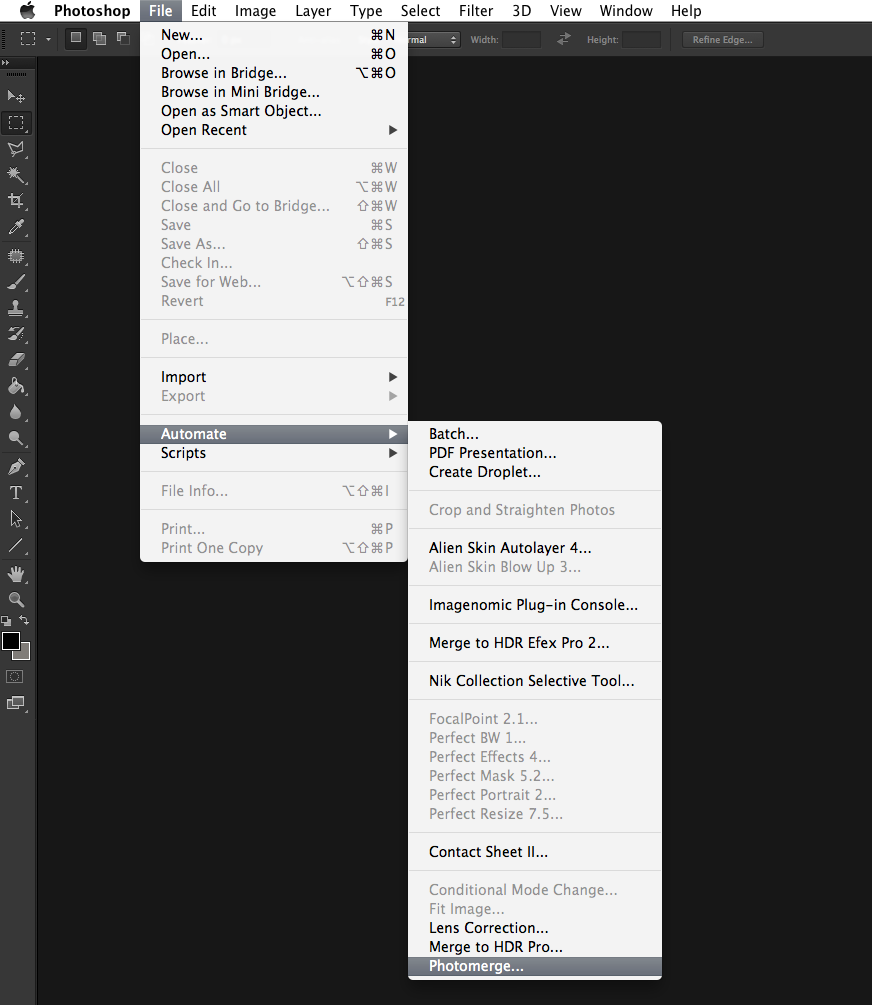
Once this is done open Photoshop where you need to do an automated photomerge which can be found here:
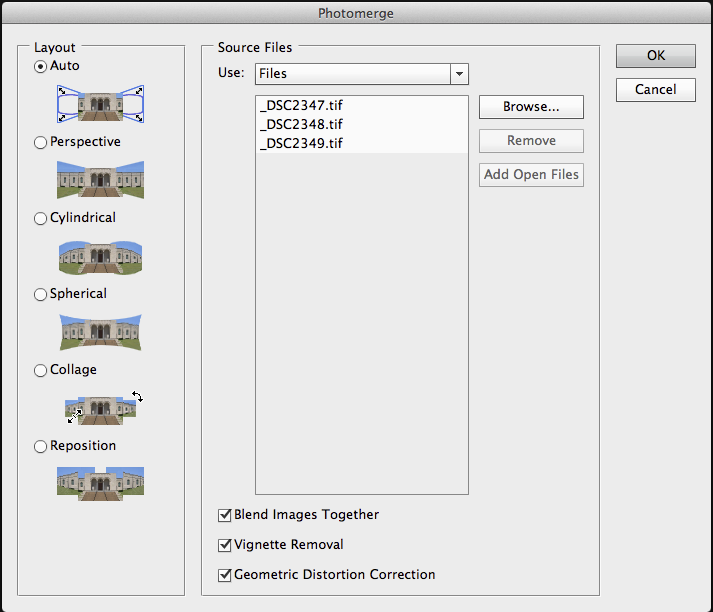
A box will open and make sure that you select the three images you exported from Lightroom, then make sure that the "blend images together", "remove vignetting" and Geometric Distortion Correction" are all selected:
Once this is done click "OK" and this will start the process, once this is done you will need to flatten the image as it will now be made up of various layers:

Once the image is flattened you will have to crop some of the image in to remove the areas around the outside, the next step is to adjust the image to make sure that all the lines are straight. To do this you can either use the lens correction option in the "Filter" menu however I prefer to do this manually by selecting the whole image:

Then you need to select free transform which can either be done by holding command and pressing T or it can be found in the menu:

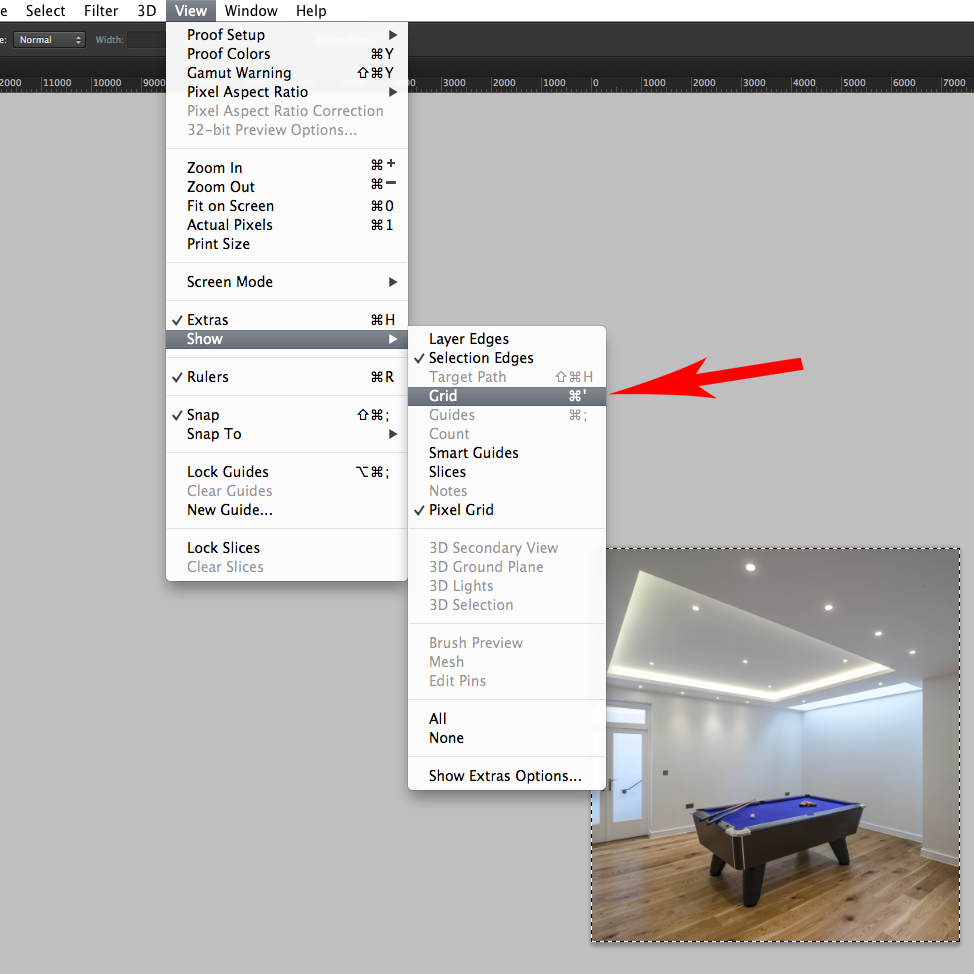
To make more accurate adjustments you may want to have a grid layover which will help you to make sure all the lines are straight, this can be done by holding "command " and the " ' " or it can be found in the menu here:
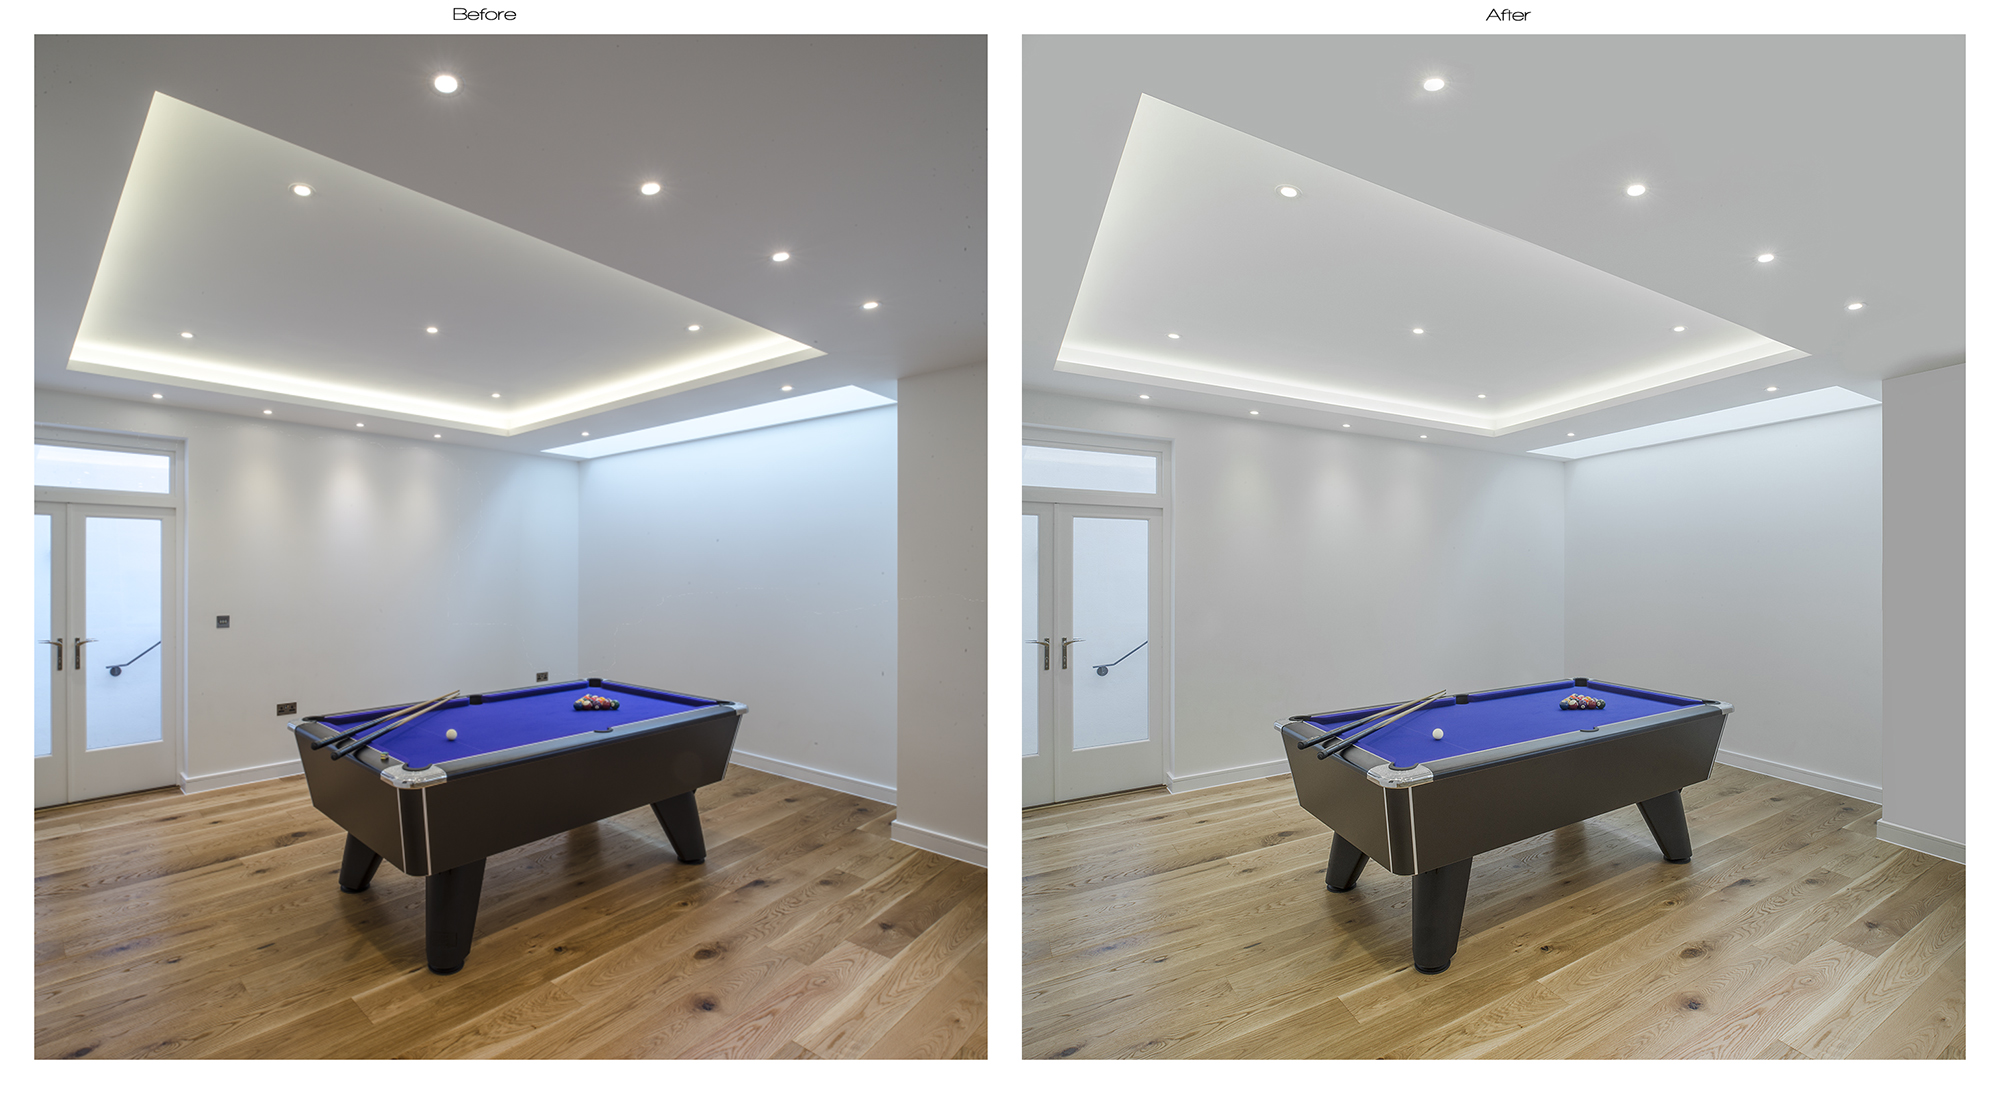
Once you have completed your adjustments you should be left with an image which should look like a cleanly blended panoramic stitch.
Then its up to you as to how you edit your image, what you remove and your final post production, here is my final image alongside the pano stitch:
Thanks for reading, for more examples of my interior photography check my website: